How to Dismantle an Imaging System
-

- by Julia Zumbroich May 14, 2020
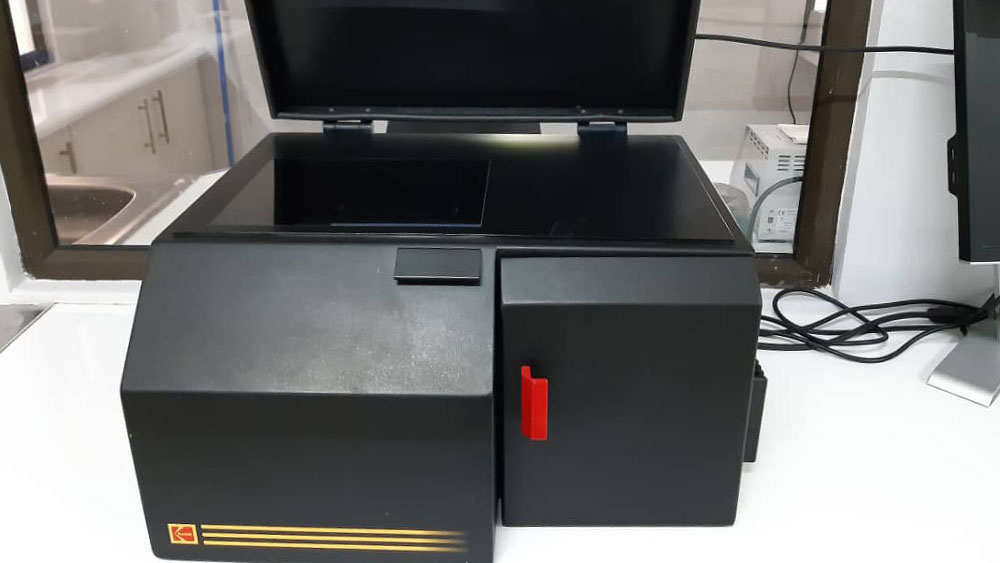
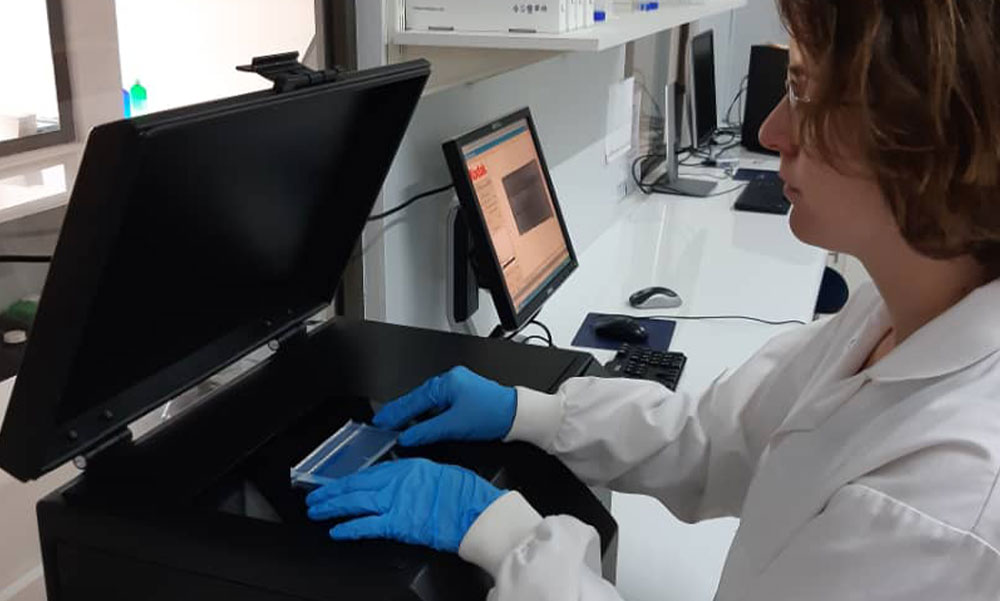
Lately, our beloved 1998 imaging system has been giving us some issues. We use this machine to look at DNA. It takes UV lighted pictures of agarose gels (think Jell-O), to detect whether a DNA extraction or PCR has worked properly. Obviously, this requires good picture quality to distinguish bands or detect low concentrations of DNA. Unfortunately, the replacement camera we bought off eBay in 2018 (after the original one had broken) has always had speckles in the picture, which grew bigger and made it almost impossible to take proper pictures for our research.
After some exchange with the very helpful Kodak customer service and a few searches on user platforms, we thought to have found the origin of our speckles – mold. Now we were facing another challenge: how to get mold out of a closed camera system? Luckily, we still had the old, broken camera block, so I decided to use it as a guinea pig and test what we can do on this one first, before opening up the camera we actually need to work.

After collecting all necessary tools from our barn and tech department, I picked one end to start opening up and loosened a bunch of screws, which led me to… not the camera. Instead, I found a circuit board and, more screws. So, off to the next layer! Now one of those screws was fringed already (eBay… you never know what you get) and impossible for me to loosen, which led to an open call in our WhatsApp group, and a heroic intern and his Leatherman succeeding (we love our interns!). So, I’m excitedly taking out the circuit board to find… solid steel. This end is a dead-end. Now luckily every camera has two ends, so after putting everything back in place (including the fringed screw, we’re not leaving anyone behind), I start over. This time it’s less screws, they all open… and the part still doesn’t move a bit. I push, I pull, I try to lift, nothing. My colleague comes to aide with every tool he has in his house (which is a surprising amount) and manages to force the part off in ways I’d rather not disclose for the peace of mind of our boss 😉. Let me just say that raw forces were involved. Anyway, the cameras cover comes off, but again, that’s as far as it goes. No ways to get deeper into it or take apart the actual camera and clean out. Living in a major city one could just send the camera in for service, and having a large budget one could just buy a new camera, rather than to have to take everything apart that doesn’t run and hide fast enough. But where’s the fun in that?
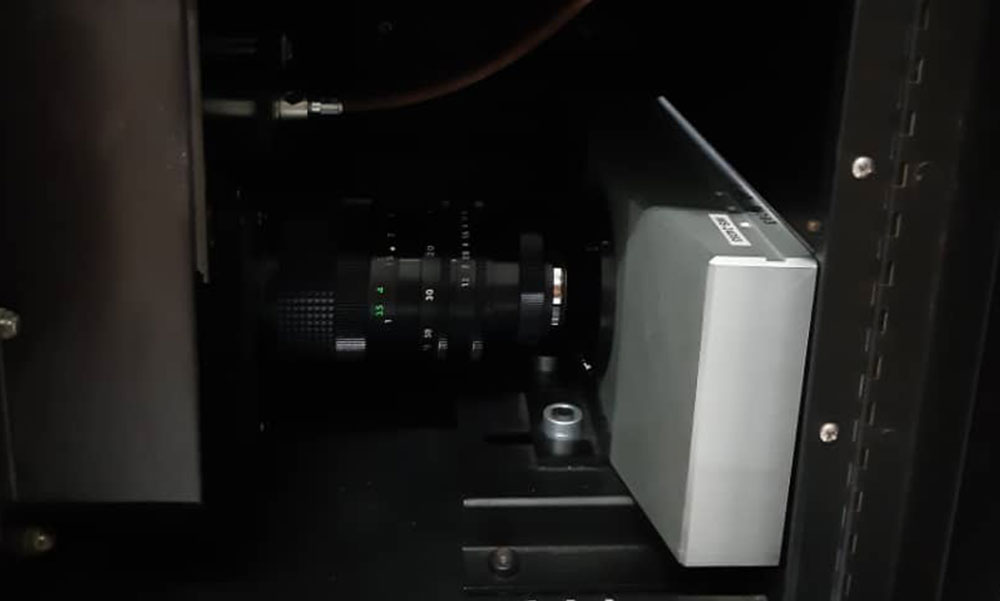
Hence, as we just figured out the way to take off at least one layer without breaking anything (important) on the way, we decide to get to the real camera. But now this camera block is still mounted tightly within the system, which requires more tools and gives us more screws to open, but after a while we get it out and can start by taking off the lens. So, I clean every layer we get to, open the camera block as before, clean that part, we successfully put it all back in place and anxiously wait to see how it performs for the next gel. Luckily, our collaborator Morgan from the Smithsonian Institute just so happened to need to take a gel picture. After a good half hour of readjusting the camera and focus settings, we finally take our long awaited, all squeaky-clean picture, and… same old.
The mold must be hiding from us in a deeper layer of the camera that we cannot get to, which means that for as long as we are dependent on this camera block, we will have to live with the stains on the pictures. On the bright side, I now know I can take apart an imaging system from the last century without messing it up, which is always a handy skill to have.

Related Reading
-
February 27, 2026
In the Footsteps of the Kenyan Cheetah: A Genetic Odyssey